
|
HMS Amethyst U-16 / F-116 |
|
Page 2 |
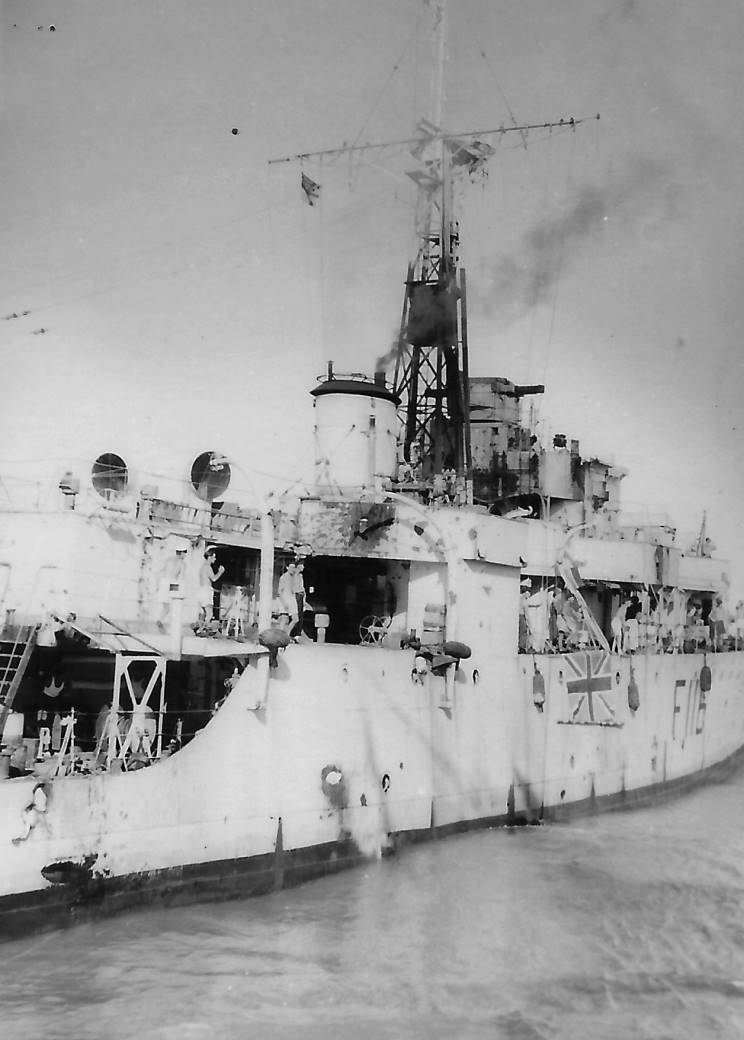 |
July 31, 1949: HMS Amethyst F-116 seen alongside HMS Concord R-63 after her escape from the Yangtze River. |
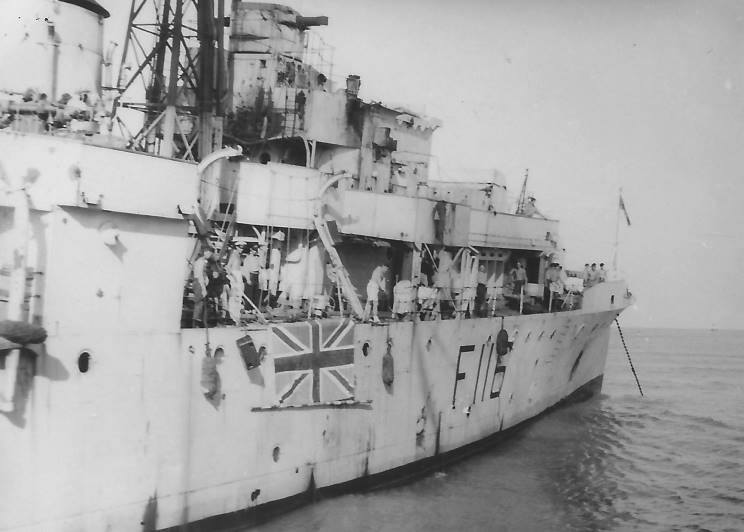 |
July 31, 1949: HMS Amethyst F-116 seen alongside HMS Concord R-63 after her escape from the Yangtze River. |
 |
July 31, 1949: HMS Amethyst F-116 seen alongside HMS Concord R-63 after her escape from the Yangtze River. |
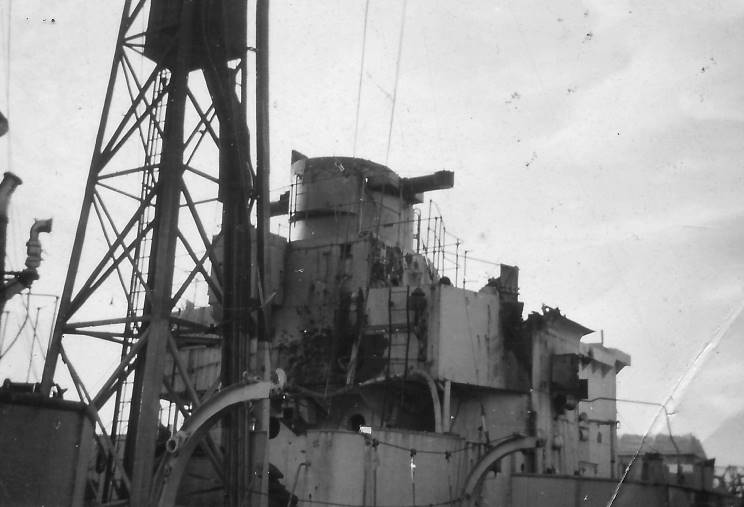 |
July 31, 1949: HMS Amethyst F-116 seen alongside HMS Concord R-63 after her escape from the Yangtze River. |
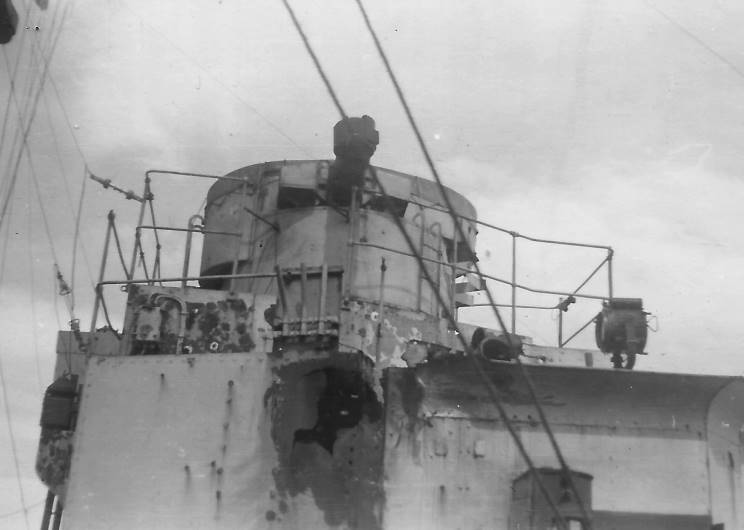 |
July 31, 1949: HMS Amethyst F-116 seen alongside HMS Concord R-63 after her escape from the Yangtze River. |
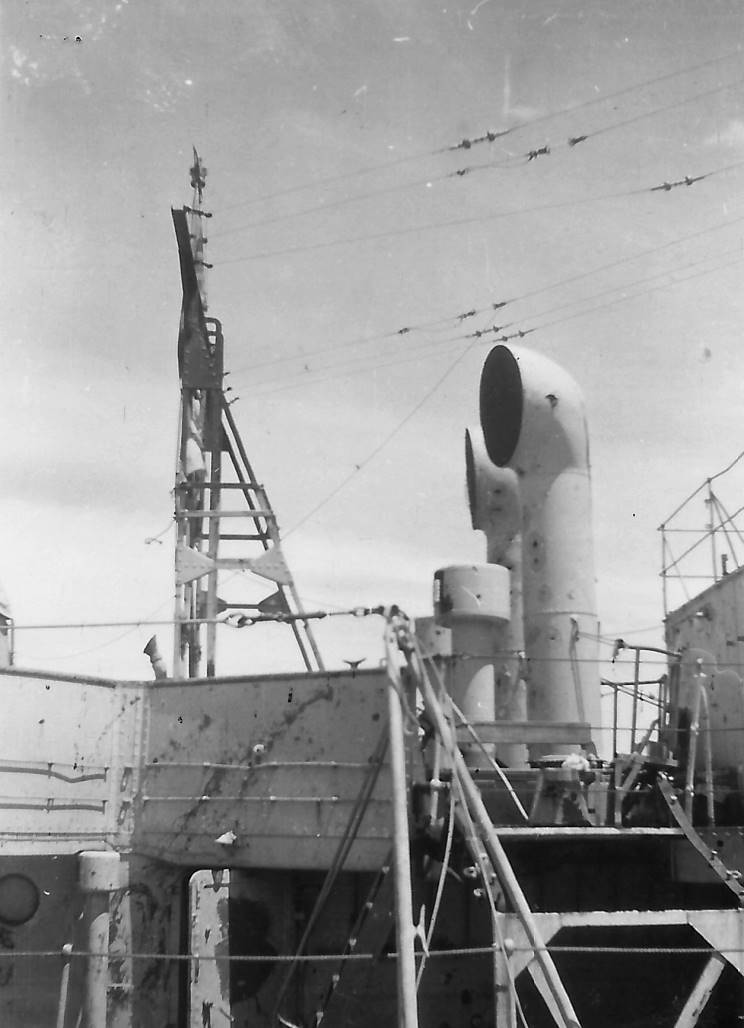 |
July 31, 1949: HMS Amethyst F-116 seen alongside HMS Concord R-63 after her escape from the Yangtze River. |
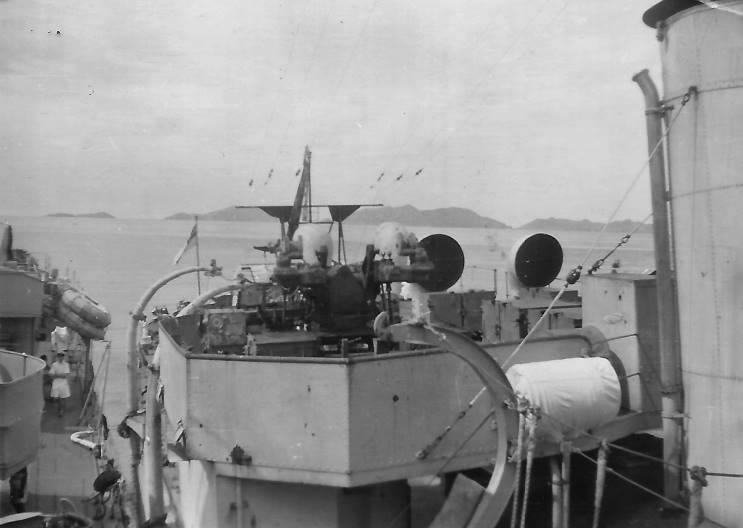 |
July 31, 1949: HMS Amethyst F-116 seen alongside HMS Concord R-63 after her escape from the Yangtze River. |
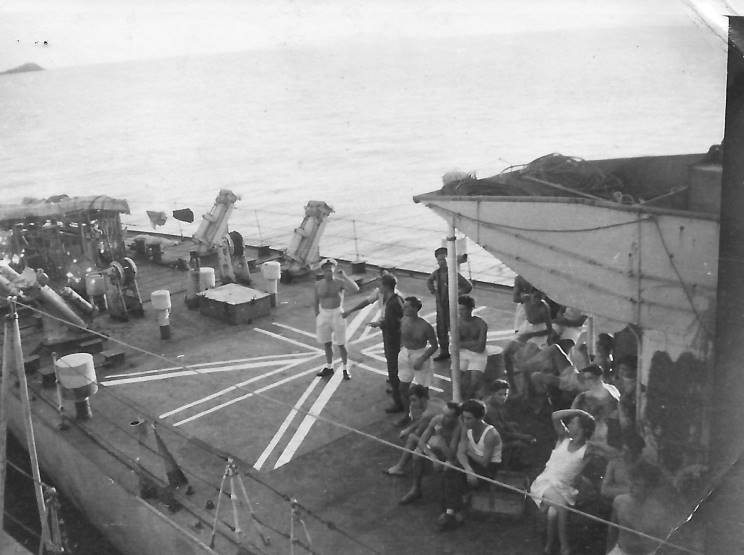 |
July 31, 1949: HMS Amethyst F-116 seen alongside HMS Concord R-63 after her escape from the Yangtze River. |
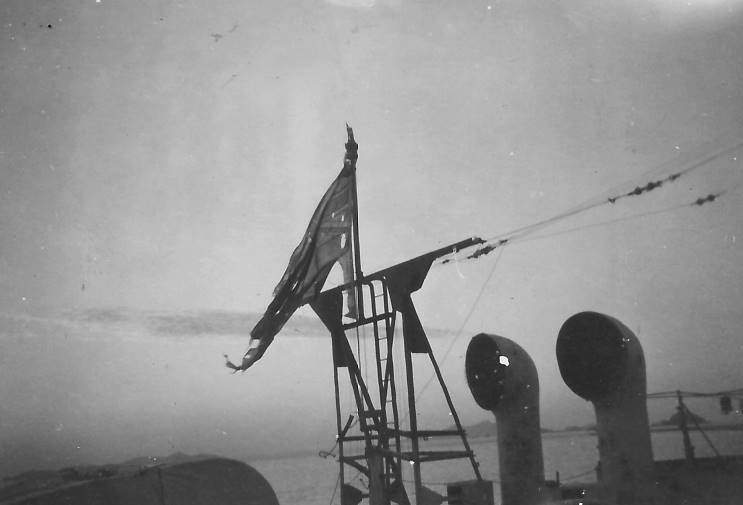 |
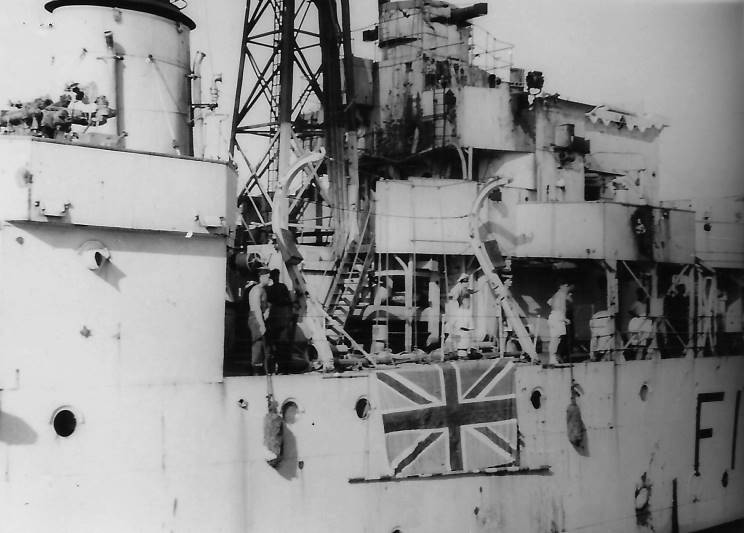
July 31, 1949: One of the battle damaged ensign of HMS Amethyst F-116. |
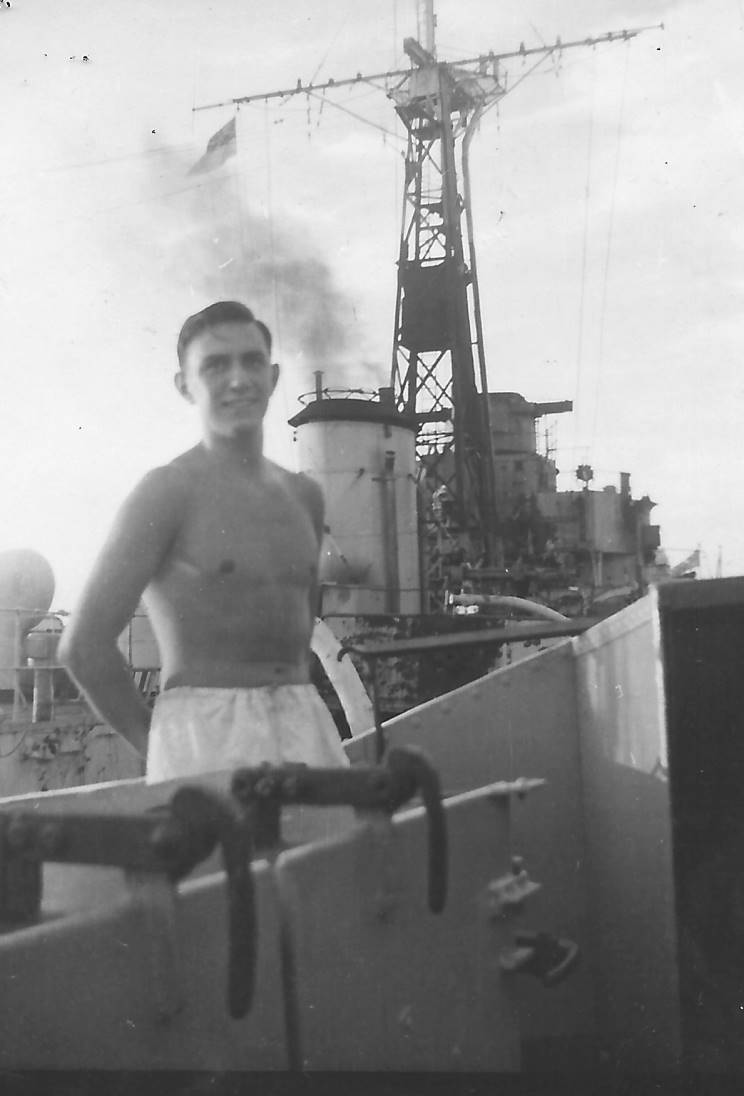 |
July 31, 1949: "Davie" seen on HMS Concord R-63 with HMS Amethyst F-116 seen alongside. |
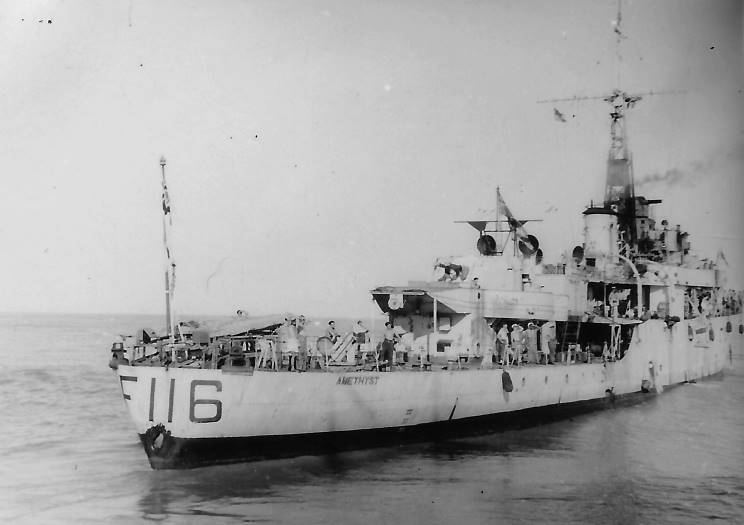 |
July 31, 1949: HMS Amethyst F-116 seen alongside HMS Concord R-63 after her escape from the Yangtze River. |
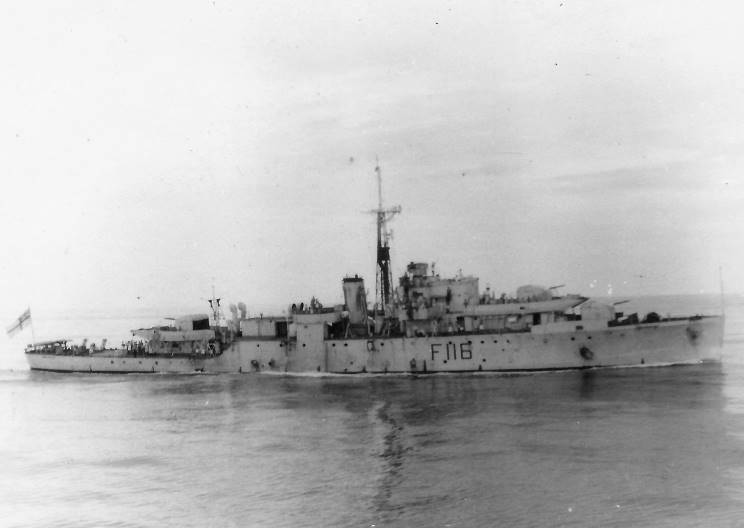 |
July 31, 1949: HMS Amethyst F-116 seen underway. |
Page 2 |
||
Page published June 3, 2008 |